How to make high-resolution maps while reducing file size in ArcGIS and Adobe
A tutorial by your concerned colleague with a slow internet connection and limited disk space
Lydia Staisch
A guest post by the Figure Master Lydia Staisch
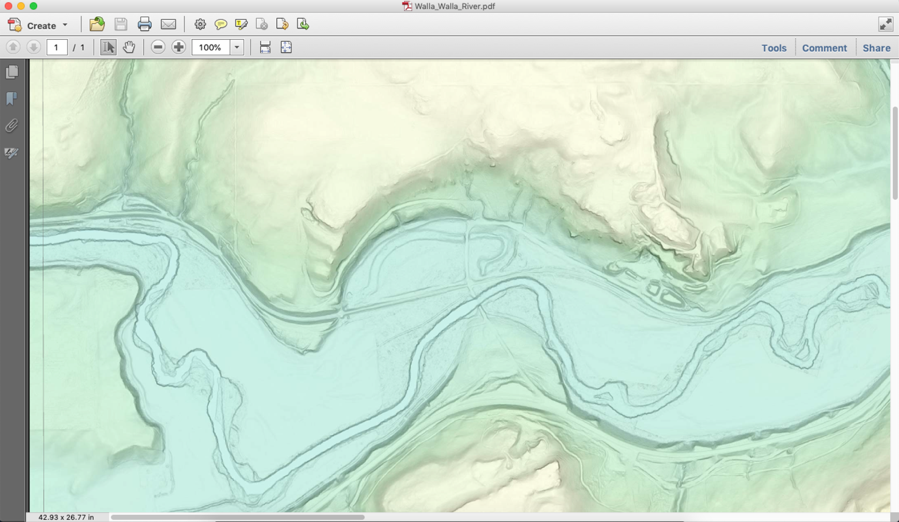
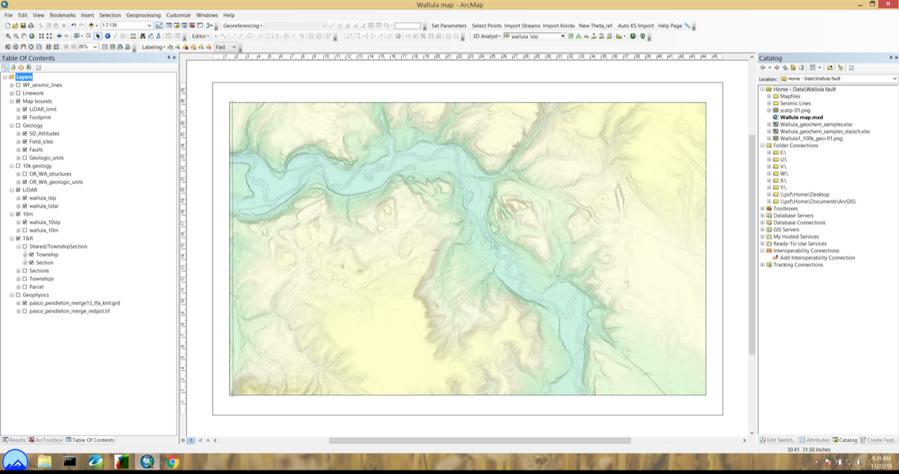
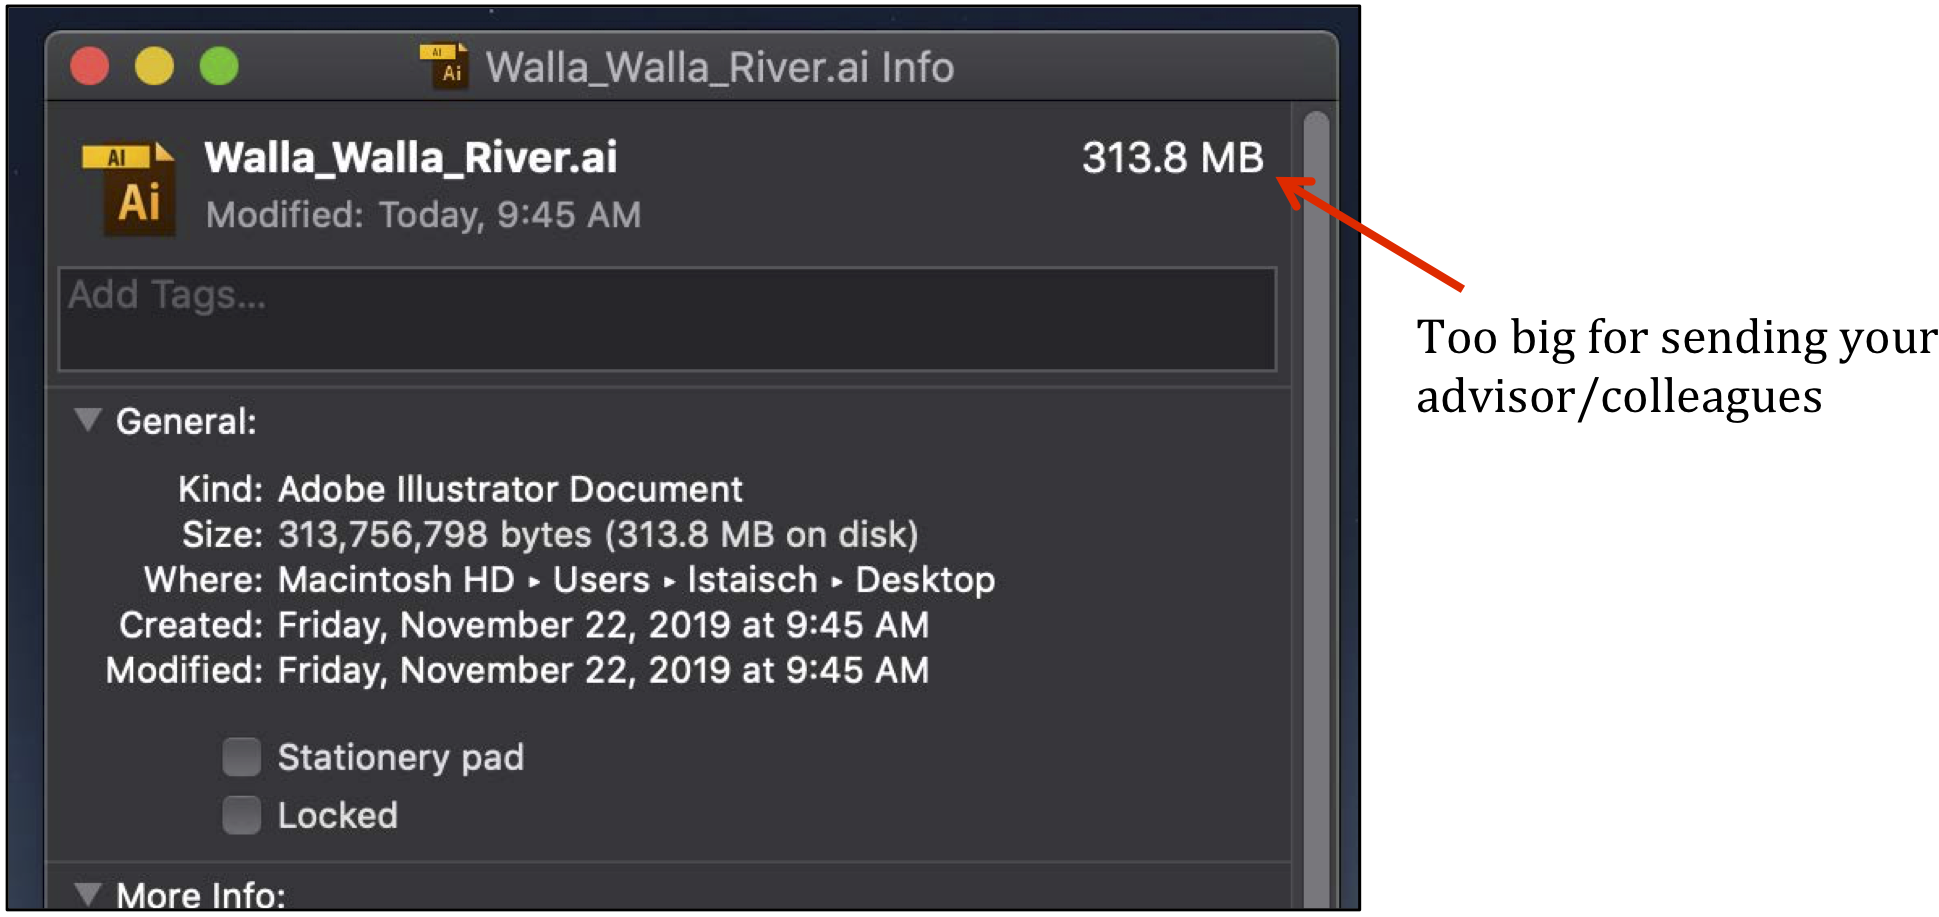
Here is a map! It's LiDAR and scaled to a poster size of 45"x30" -- it has the potential to be an absolutely monstrous file size when exported.
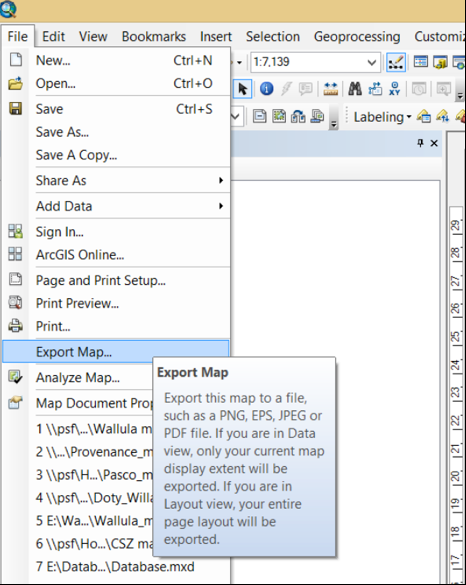
First, we of course have to save it. Use File -> Export
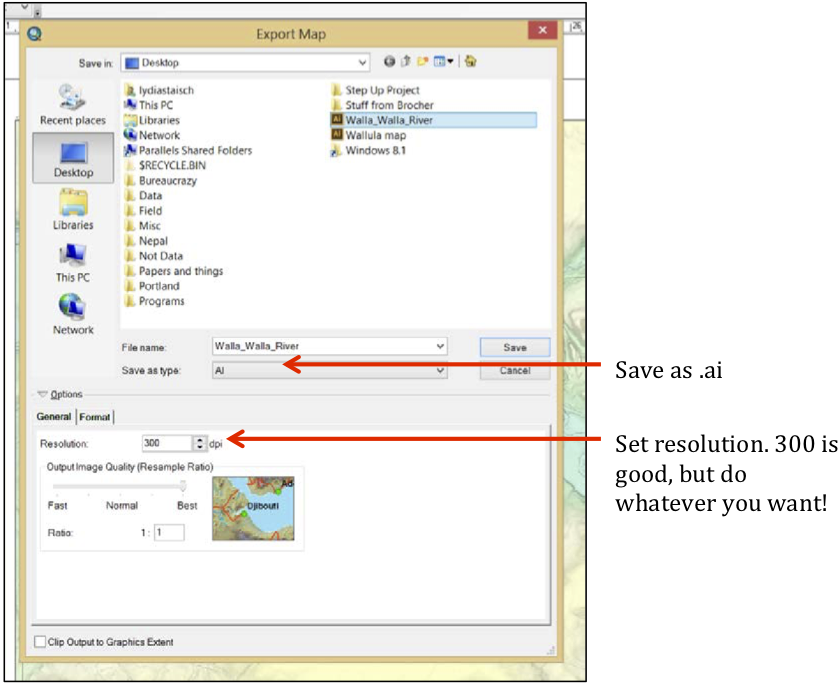
Change the resolution to 300 DPI (usually sufficient!) and save as an .ai file.
Your new .ai file will be large, but we'll fix that soon.
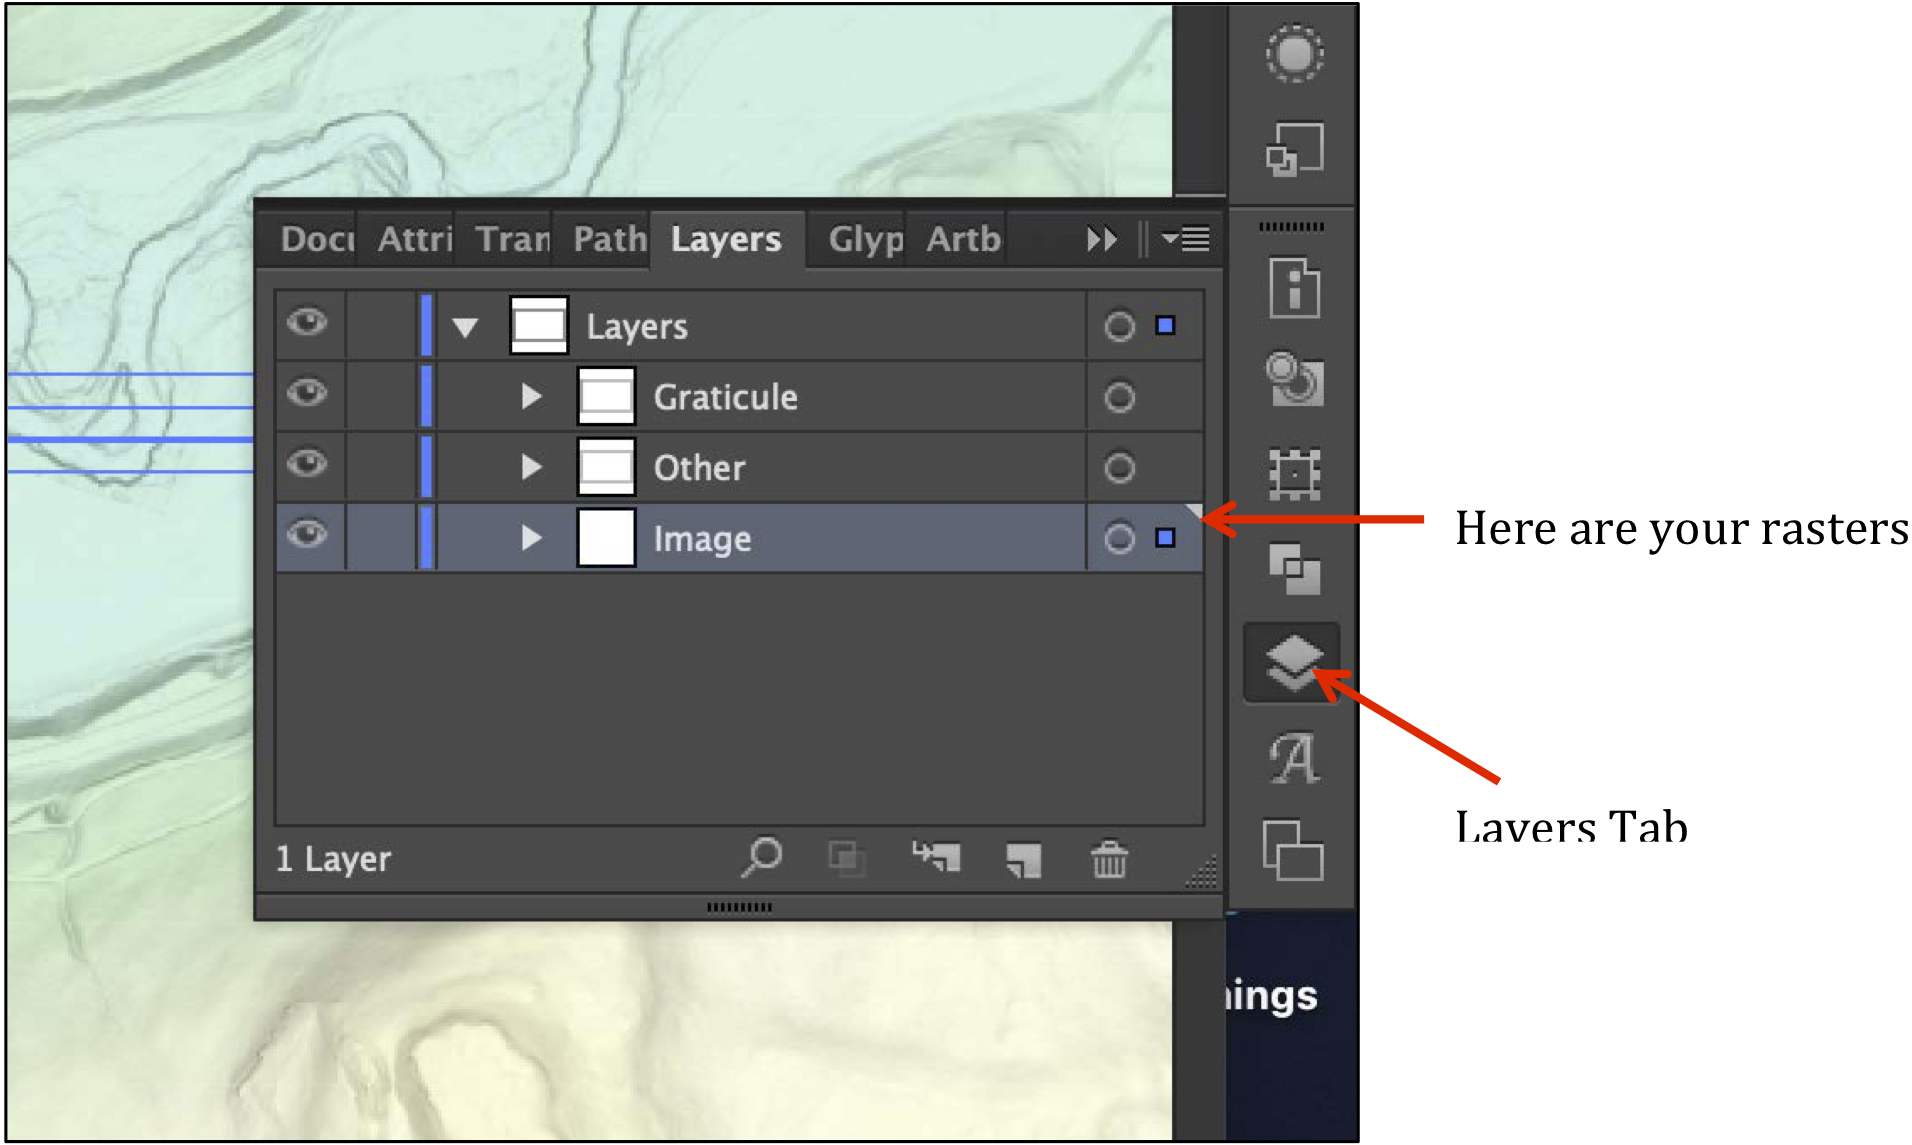
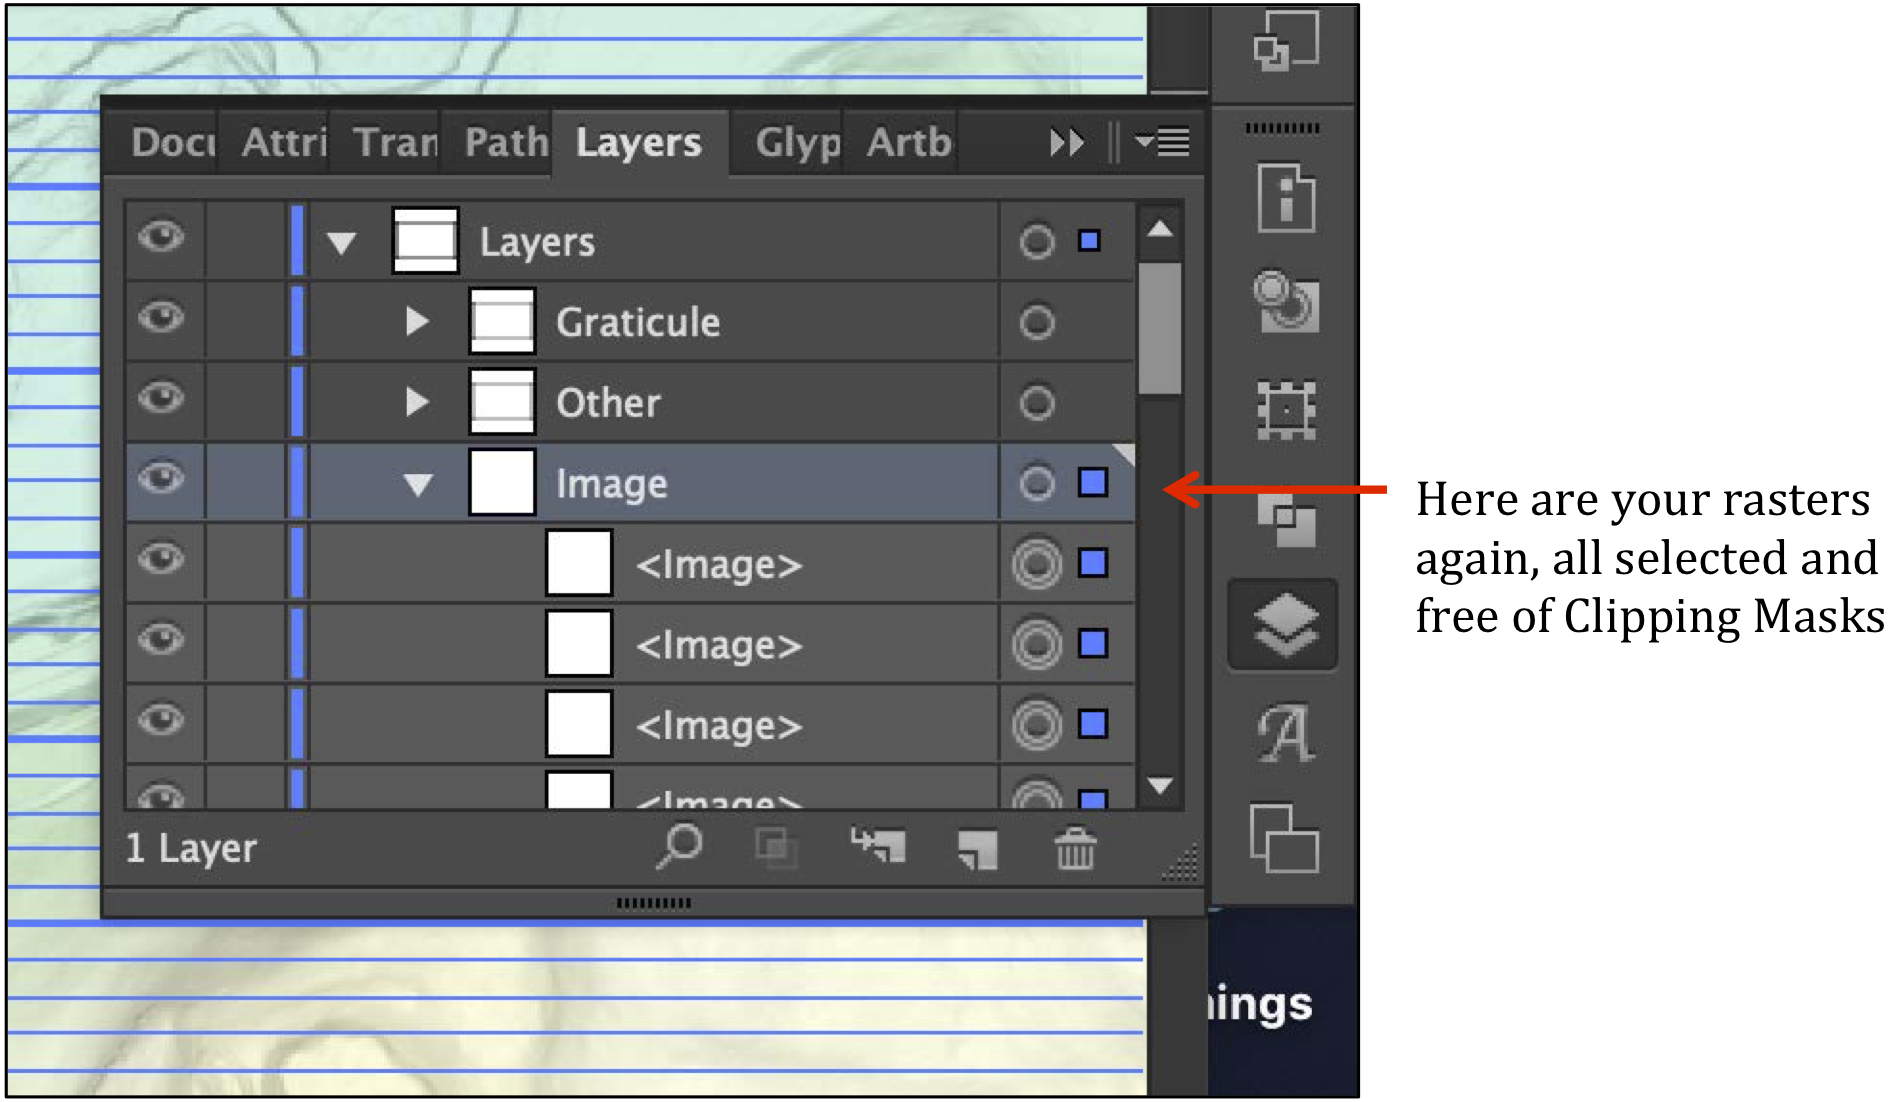
Open your new .ai file in Adobe Illustrator. In the "Layers" tab, you can find the raster of your topographic layer. It's usually called "Image"
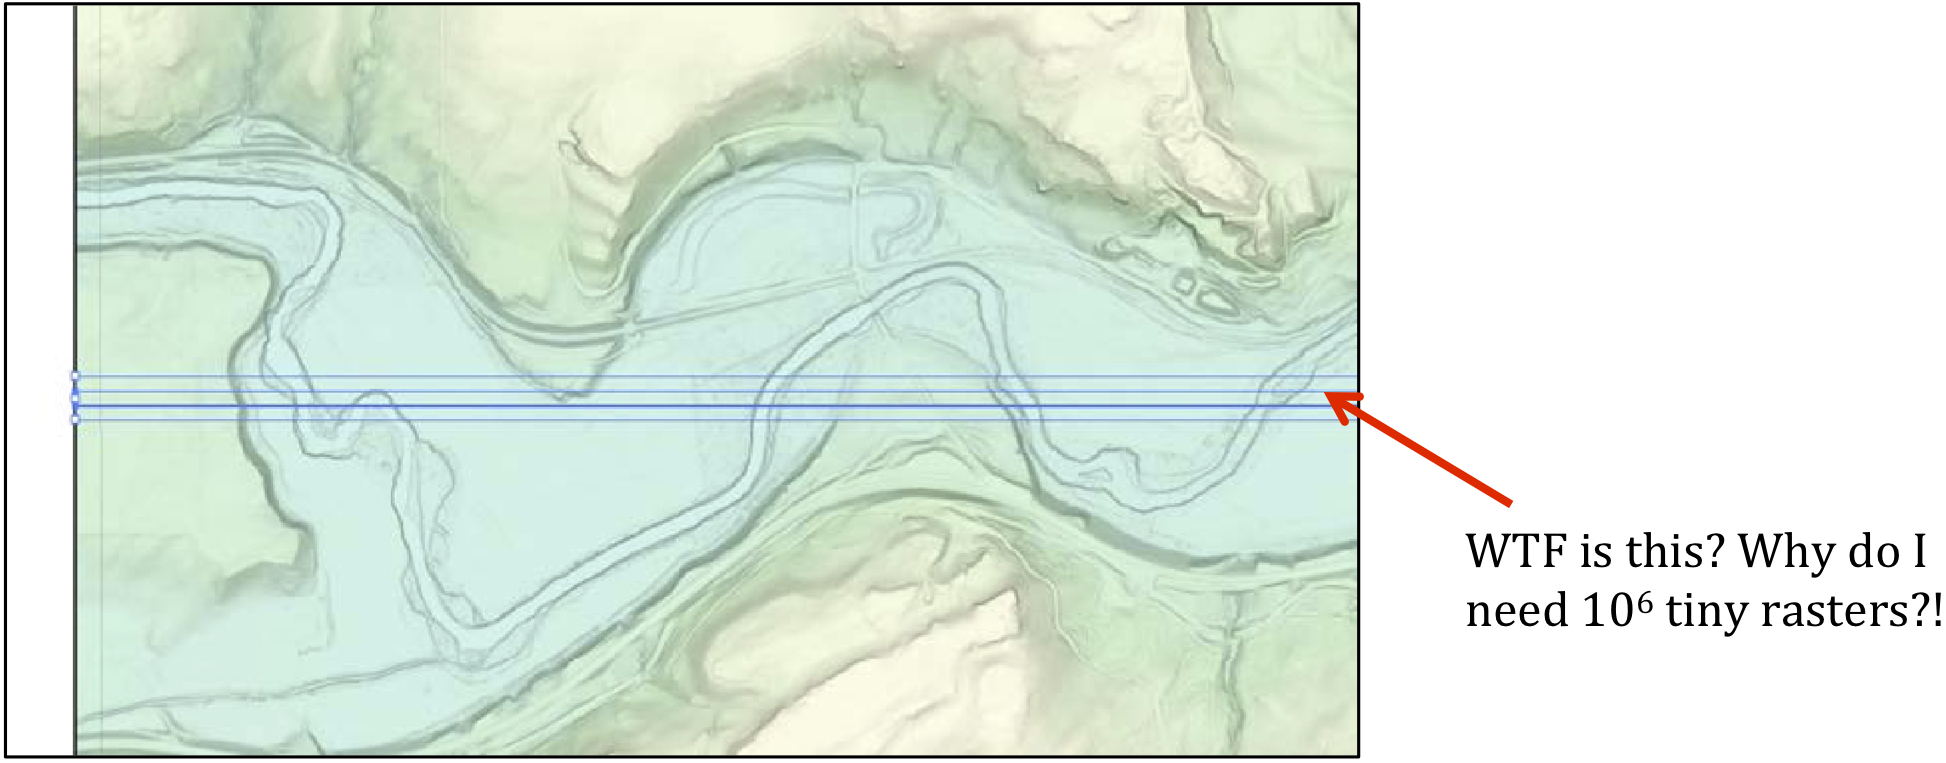
Annoyingly, the rasters are all saved as these tiny horizontal strips. Gross!
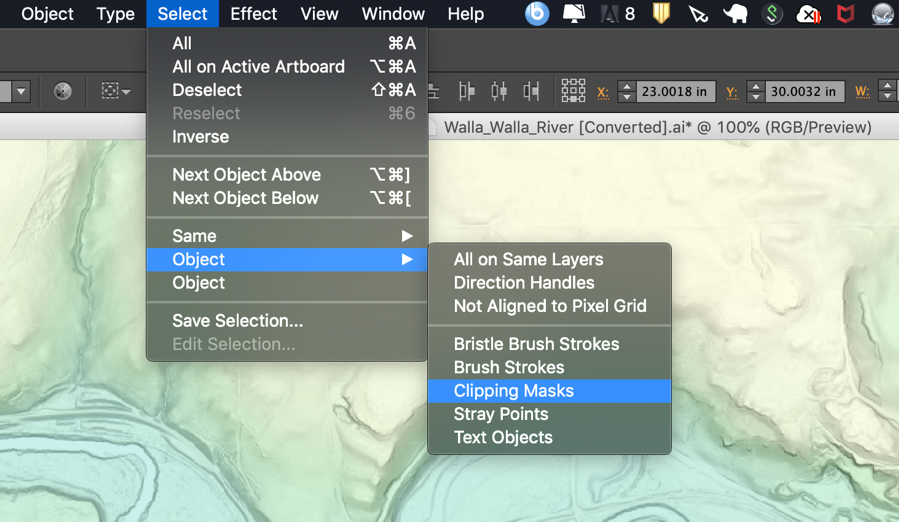
To fix that, we first need to remove the clipping masks. Go to Select Object Clipping Masks. This will select all the masks in your .ai file. Then, simply press Delete.
Now you can select all these tiny horizontal rasters easily.
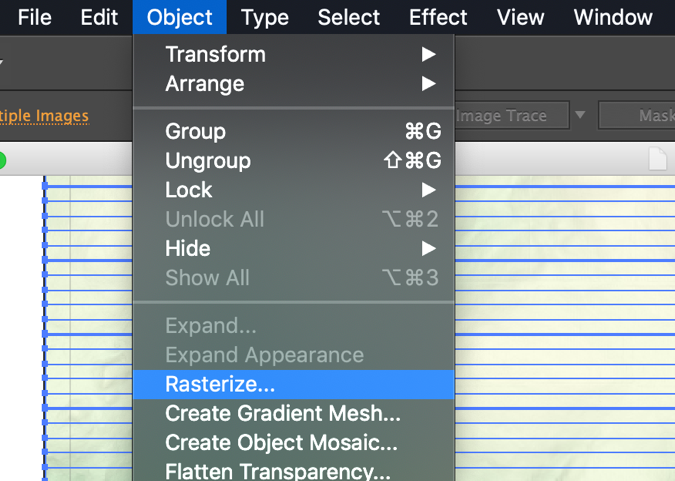
Next, you want to Rasterize these layers, effectively making one raster out of many. Go to Object -> Rasterize.
Then select the resolution. Again, 300 is good. No reason to set it higher than what you initially saved it as. Also select "Transparent" for the background.
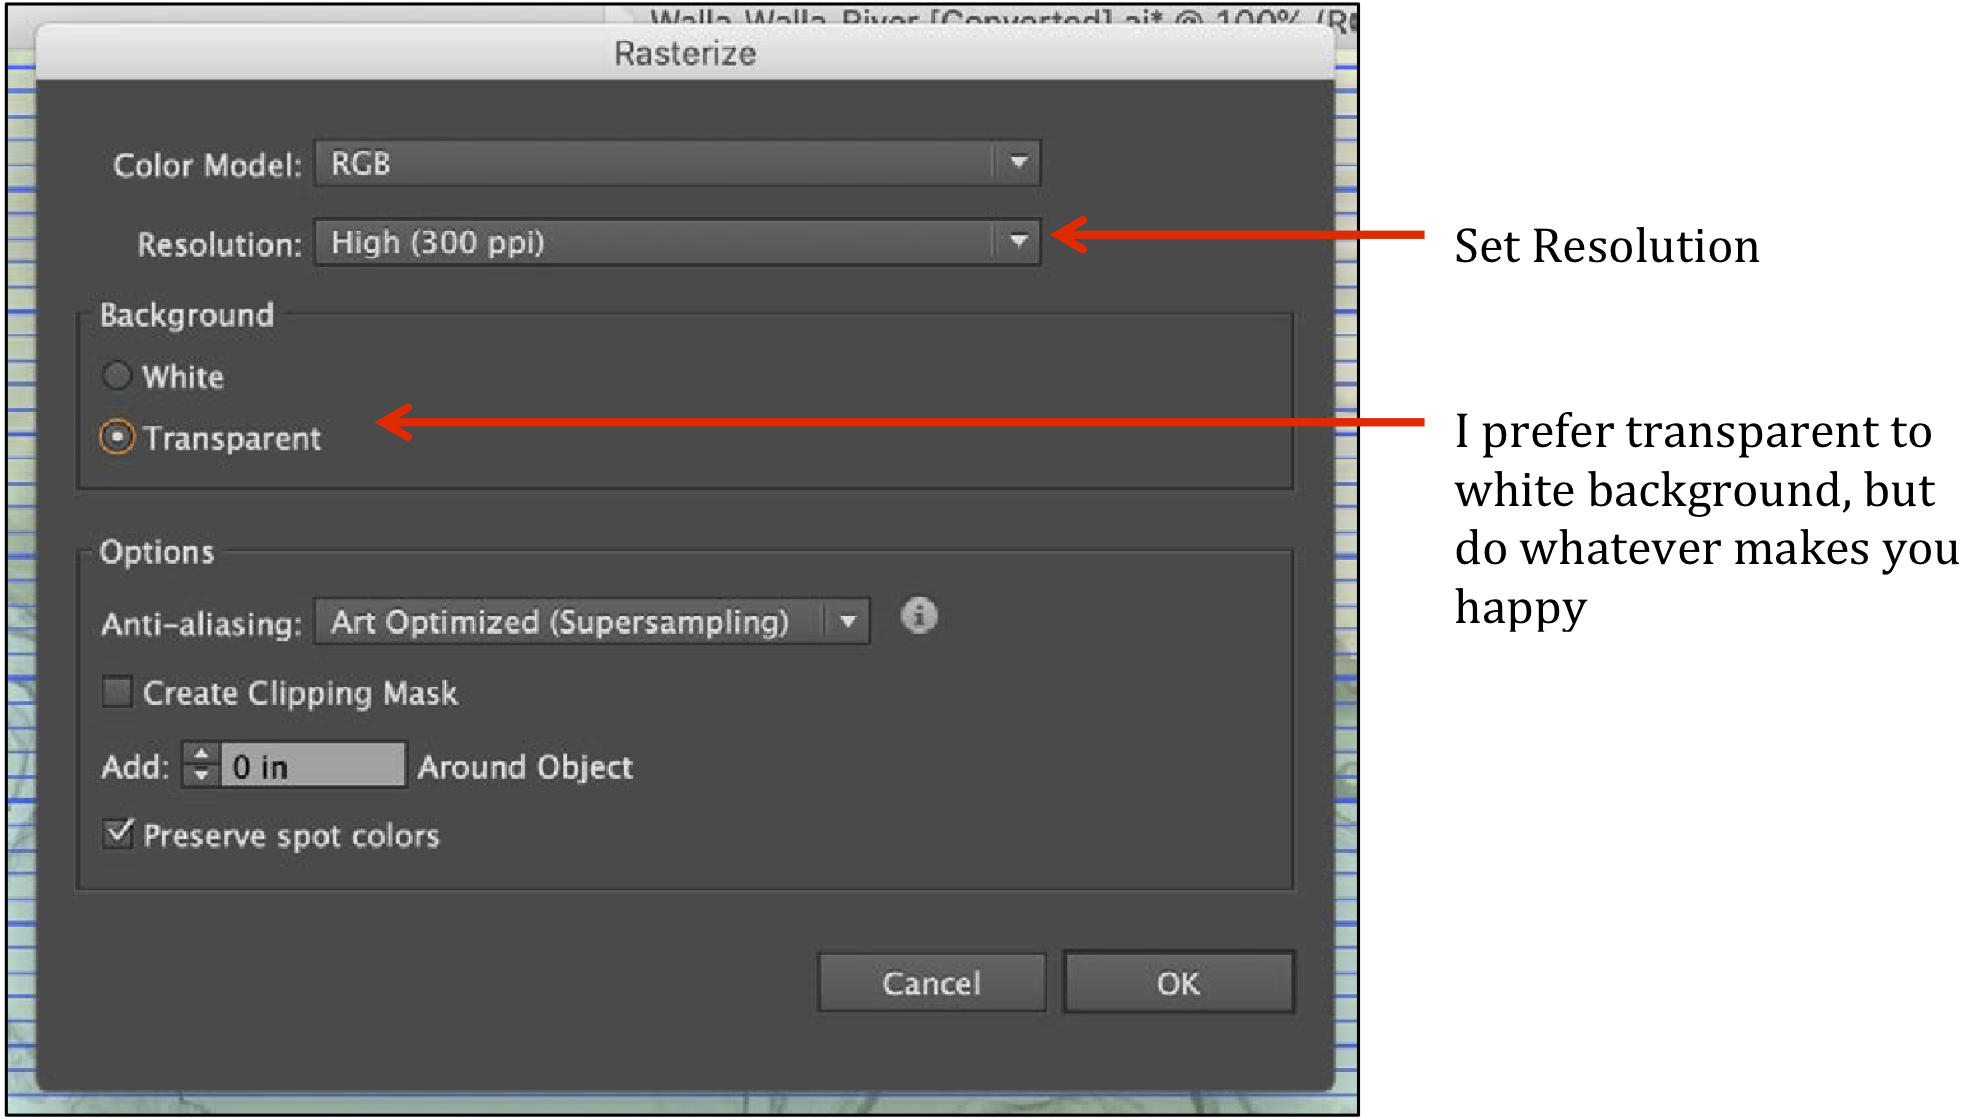
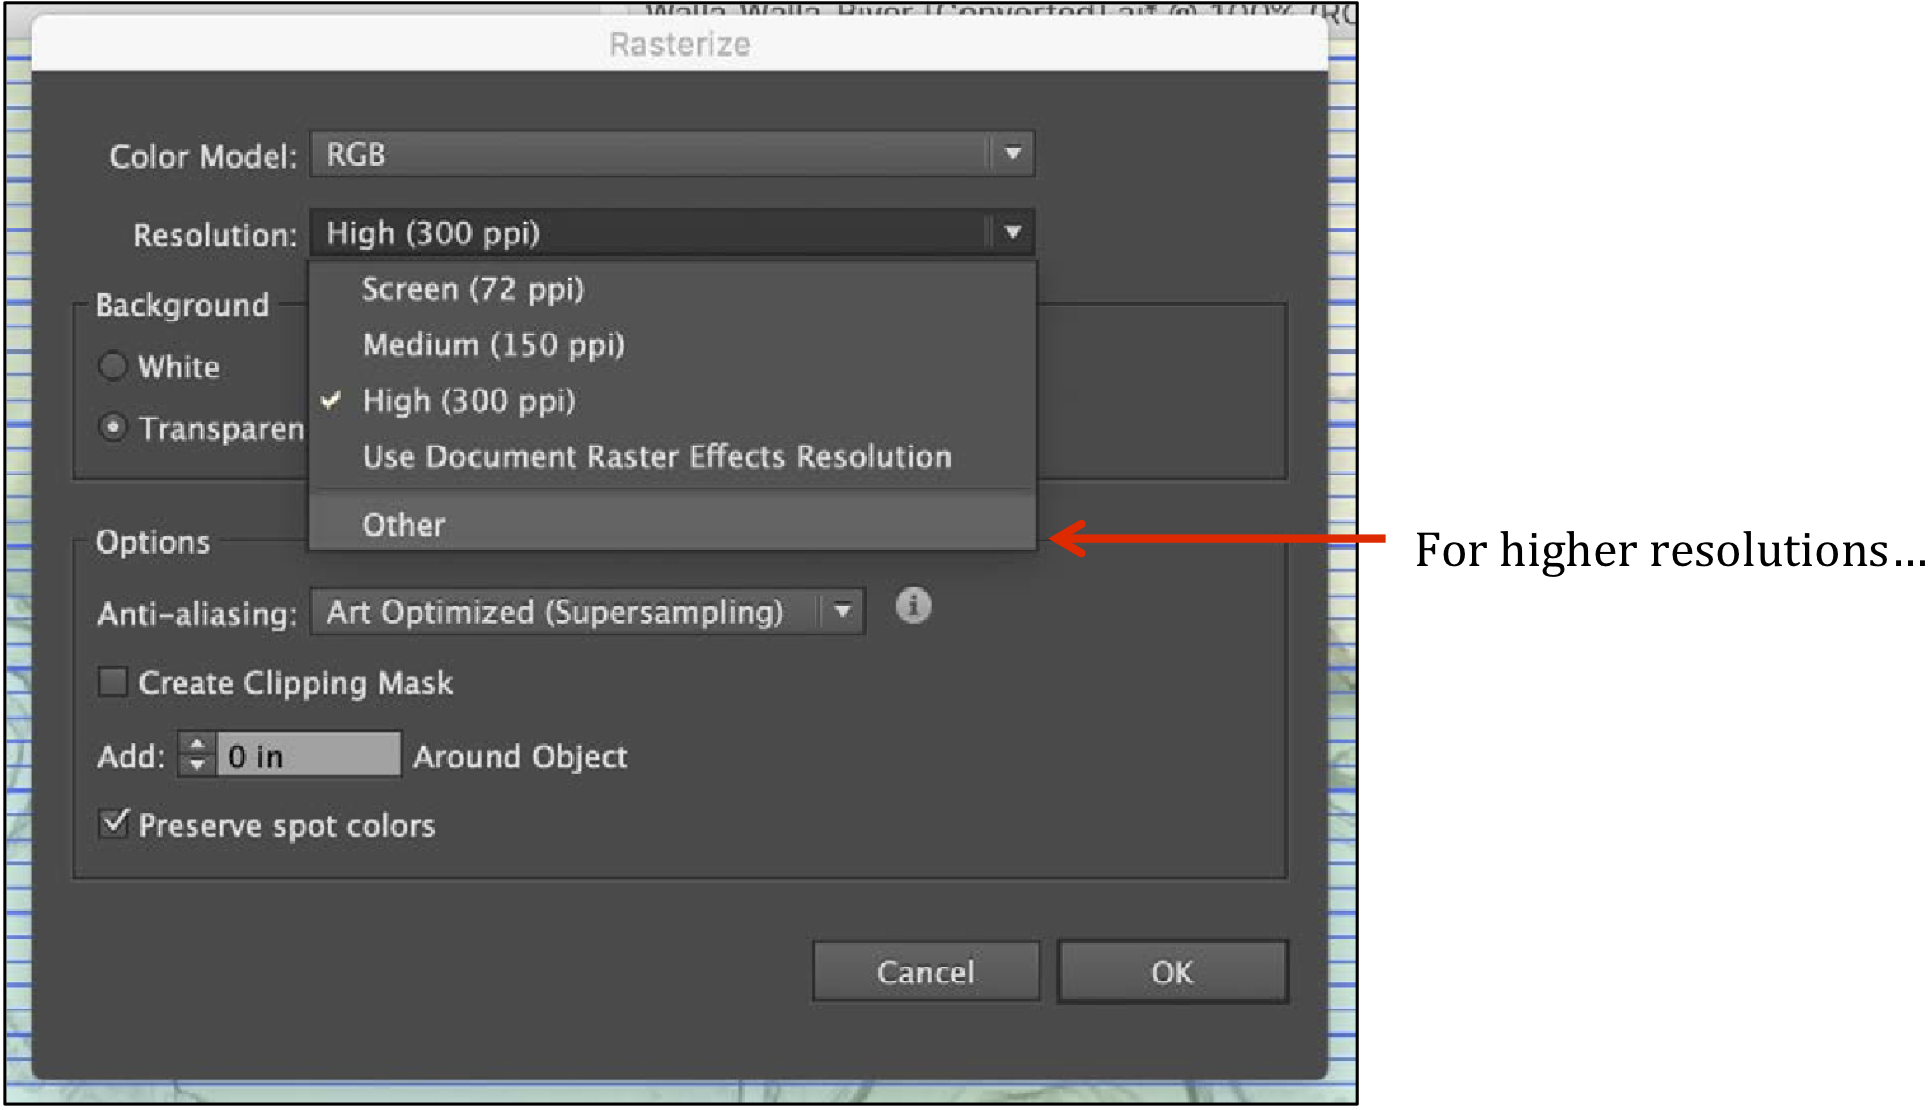
If you want a higher resolution, just chose "Other" and type it in.
Once you've made all the changes you want to the map, save it as an .eps file
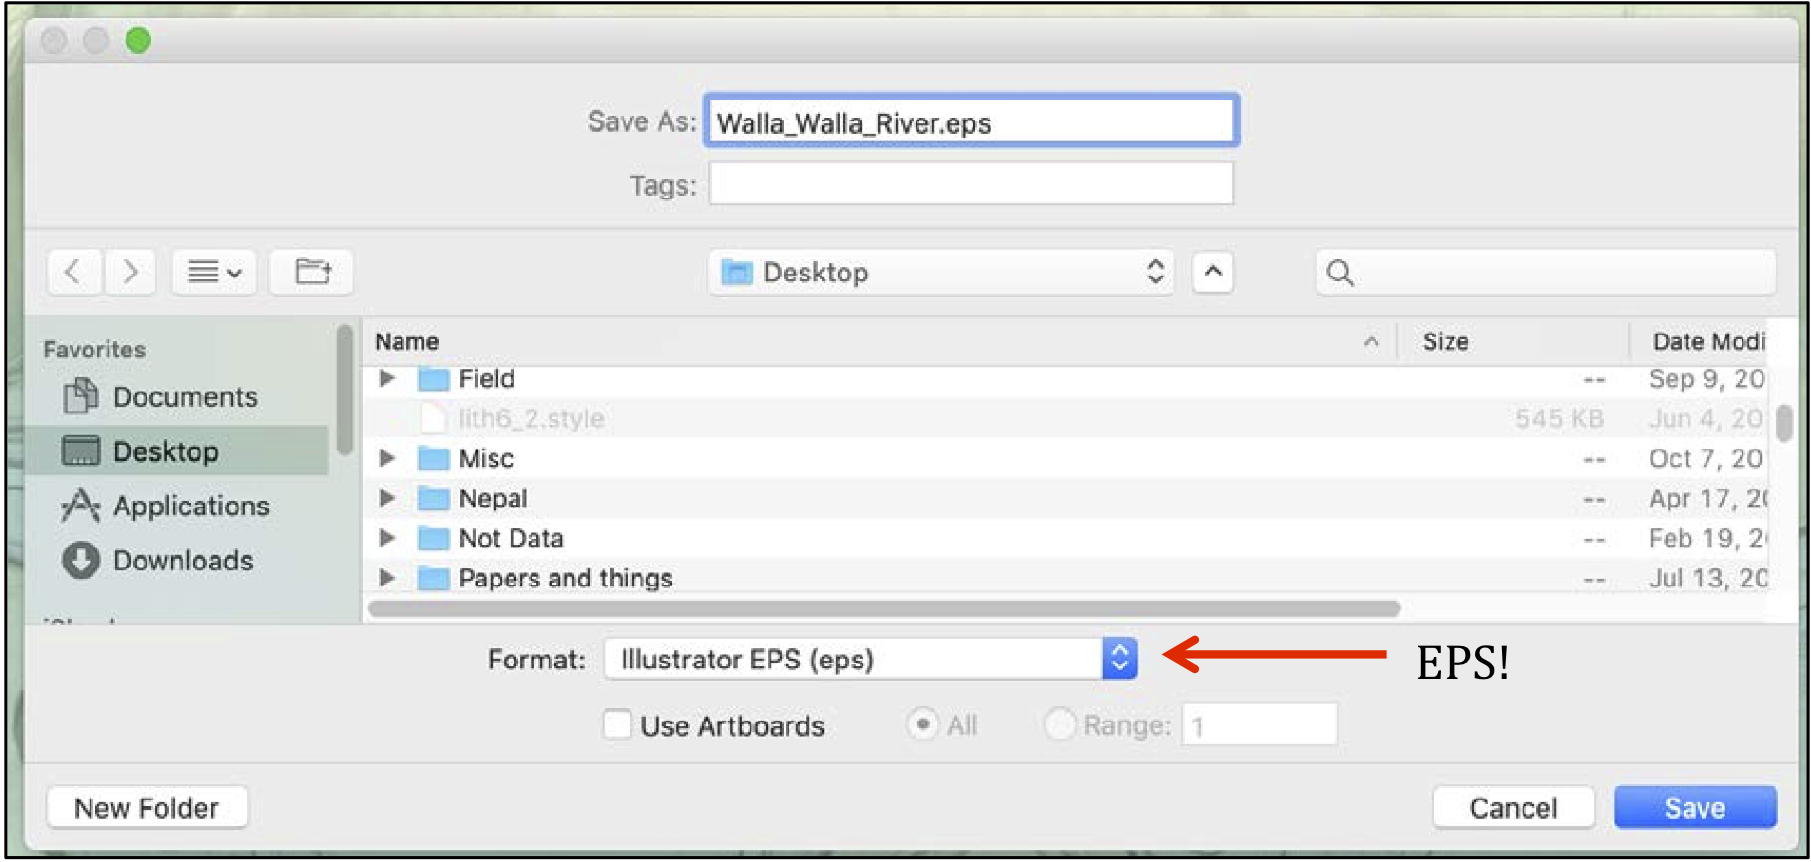
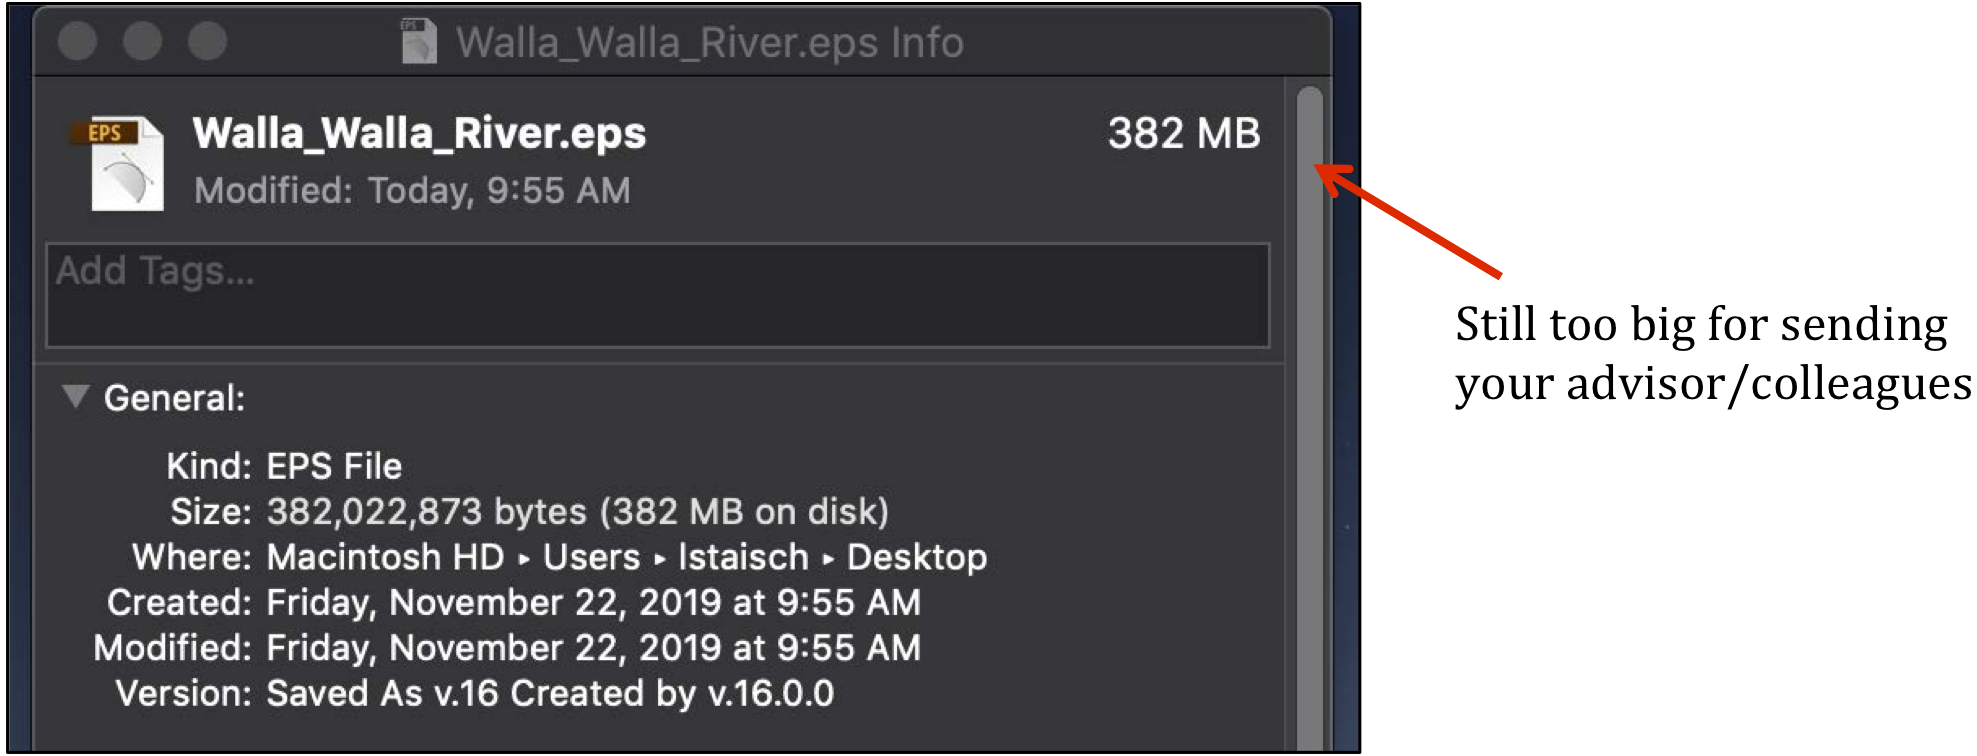
You'll notice that it's still a huge file, that's fine.
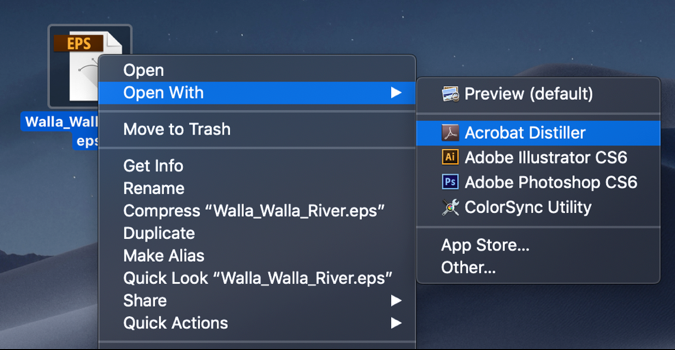
To reduce the size and save as a .pdf file, open the .eps in Acrobat Distiller.
WHOA. Check out your tiny file size.
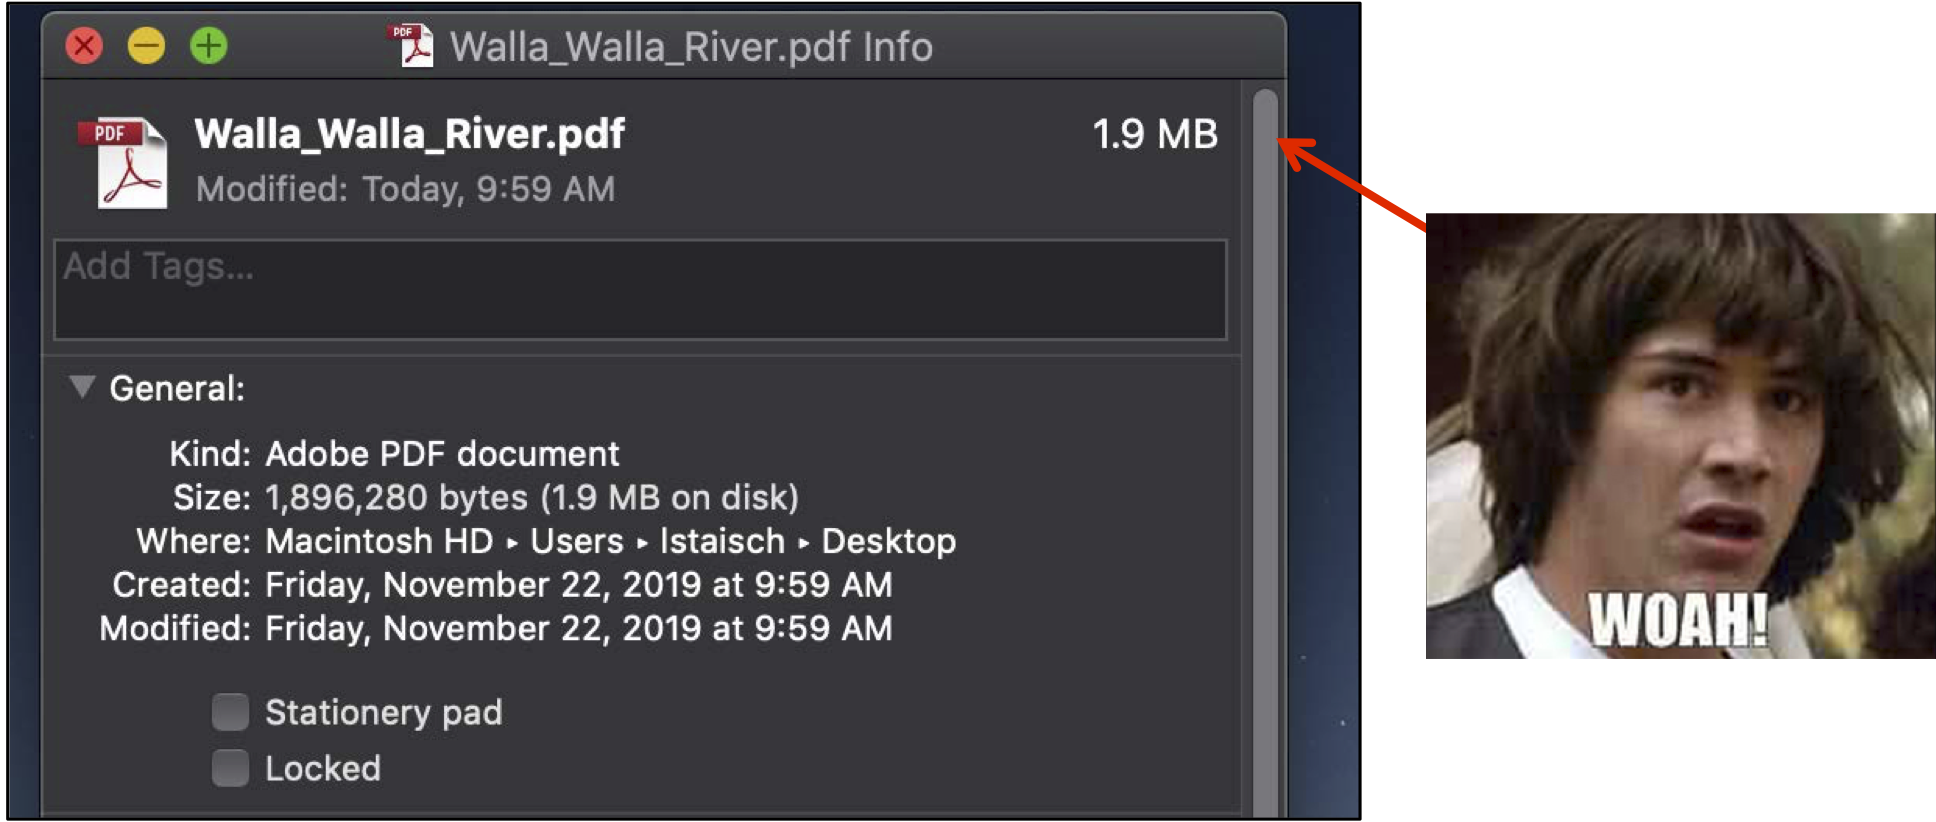
And it still looks beautiful!